How do you merge two pictures together in Photoshop?
How to merge image with background in Photoshop?
Blending images in Photoshop is a great way to combine different elements and achieve a unique effect. Whether mixing canvas colors, figures, or scenery, you can transform your photos into stunning visuals. Curious about how to blend two images in Photoshop? In this blog, we'll explore three simple methods to blend images and elevate your creations. Let’s dive in!
How to Blend Two Images Together in Photoshop
Photoshop offers several methods to achieve blending effects, and here are three simple techniques to consider: adjusting layer opacity, using blend modes, and applying a layer mask. Each of these solutions will be introduced one by one.
1)Blend Two Images Together in Photoshop Using Layer Opacity
The most straightforward approach of merging two images together is adjusting layer opacity. By decreasing the opacity value, the top picture will seamlessly become transparent and make the background to be seen, which leads to an amazing blending result. Below is how to do it.
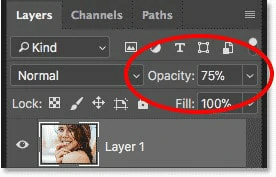
Blend Two Images Together by Changing Opacity Value
2)Merge Two Pictures in Photoshop Using Blend Mode
The second method for merging two images in Photoshop is by using the Layer Blend Mode, which allows layers to interact in creative ways to achieve unique effects. This technique is particularly useful for blending textures with photos, but it works just as well for merging any two images. Follow the steps below to get started.

Blend Two Images Together by Changing Blend Mode
3)Blend Two Pictures Together in Photoshop Using Layer Mask
The final recommended method for blending two images in Photoshop is by using a layer mask. Unlike the Opacity and Blend Mode options, which affect the entire image, layer masks give you precise control over where the two photos blend together. Follow the step-by-step tutorial below to learn how to use this technique.
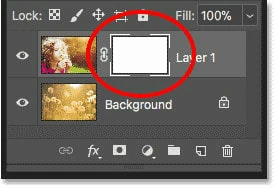
Blend Two Images Together by Using a Layer Mask
While Photoshop is a powerful tool for blending images, its interface can be overwhelming, even for tech-savvy users, and the installation package is quite large. So is there a versatile alternative that caters to both newbies and professionals seeking easy image blending? Follow our guide to discover the best Photoshop alternative for a smoother editing experience.
Bonus Tips: Photoshop Alternative to Blend Two Images Together Online
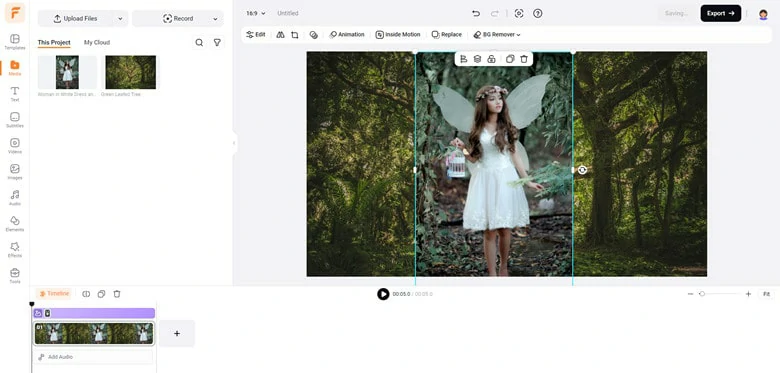
FlexClip marks a new era in photo editing, especially with its AI-driven tools. With FlexClip, you can blend two images like you would in Photoshop while leveraging AI technology to add a creative touch to your photos. Here’s what FlexClip offers:
Quick Guide to Blending Images in FlexClip
1)Combine two images into one using Layer Opacity
Add Image As Layer to te Background
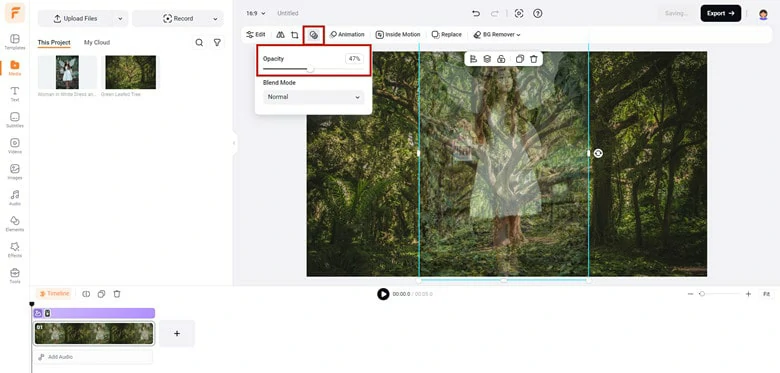
Change the Image Opacity to Make Them Blend
2)Blend two images together using blend mode
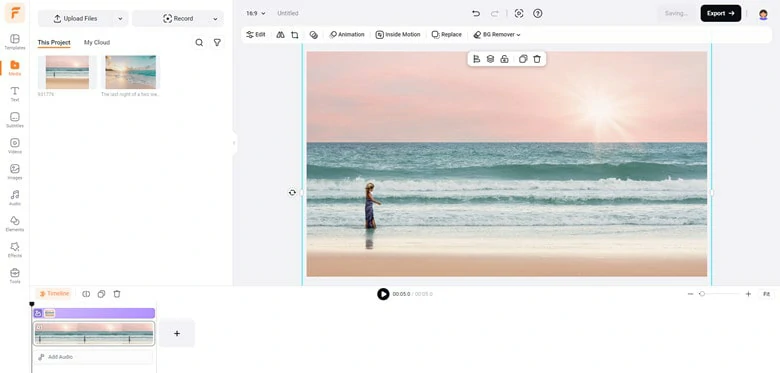
Add the Second Picture as Layer and Resize it
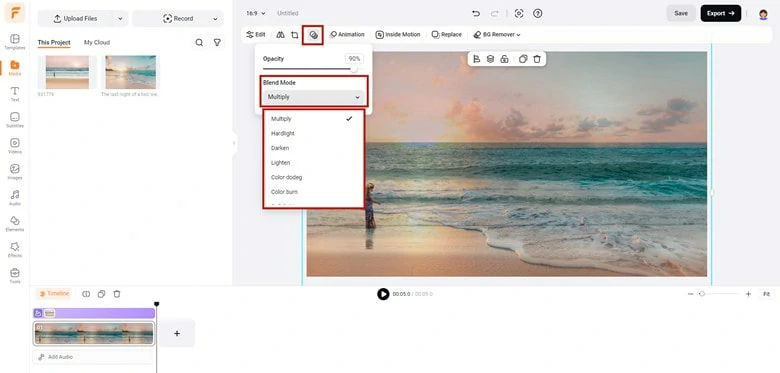
Set the Blend Mode as You Want
3)Merge two images in creativity using mask preset
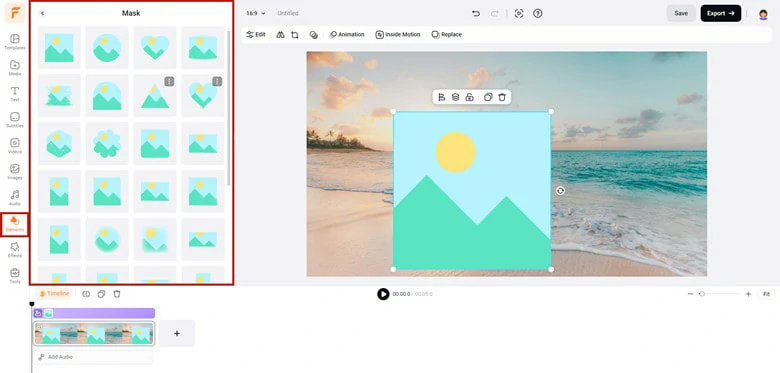
Blend the Image Using a Mask Preset in FlexClip
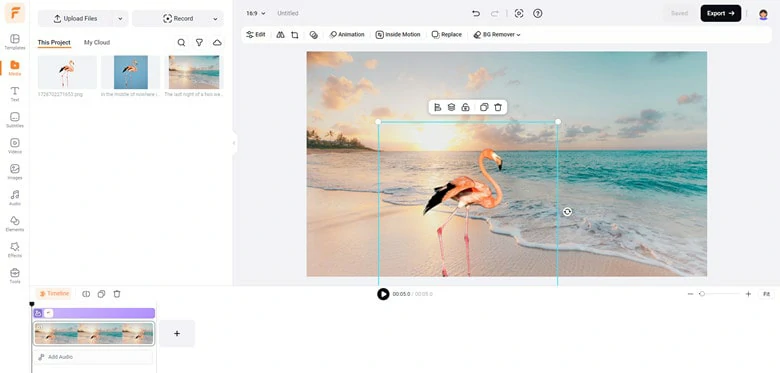
Change the Place and Use the BG Remover to Make it Blend Well If Necessary
The Bottom Line
Blending images together is a common technique for creating amazing effect. In this article, we’ve discussed how to blend two images in Photoshop and also recommended a more versatile way to merge two or more pictures with great ease along with AI joy online. Now make you own decision and start your creation journey right now!


FlexClip Video Maker
The easiest way to help you create custom videos, no design skills needed.
Start Now for Free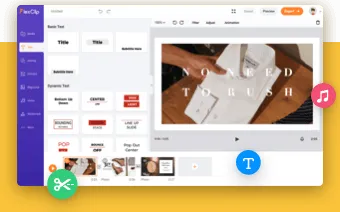
Hot & Trending
-
Ultimate Tik Tok Guide – How to Tik Tok & How to Make a Tik Tok Video that Gets Likes
-

Instagram Story Video Quality Bad After Upload? Fix It!
-

7 Best Ways to Find Music in YouTube Videos
-

How to Repost Video on TikTok & How to Remove TikTok Repost
-

Improve Video Quality Online: 3 AI Video Quality Enhancers You Can't Miss
-

4K Convert to HD 1080p without Watermark: Best 4k Video Converters
-
How to Change Face in Video on Phone/Desktop/Online
-

Top 13 Birthday Video Makers with Music and Effects Free