Try to record yourself on a Mac for your next podcast episode, presentation for your project, or a surprise video message for a friend? Mac’s built-in tools make it easy to record yourself using your webcam or even make a recording of your screen.
Here in this article, we'll show you how to record yourself on a Mac. From basic native macOS tools to more advanced and third-party option, below is a complete guide on how to video yourself on Mac in different ways.
Do Macs Have a Built-in Webcam Recorder to Video Yourself?
Sure! There are some built-in apps on your Mac, like Quick Time Player, Photo Booth, and more can help you record yourself from your Mac’s webcam. Those tools lets you record screens and videos on your Mac within a few simple steps. And we’ll show you the detailed steps to video yourself on a Mac using the built-in tool.
However, all those native tools are far away a dedicated video recorder software. The functionality of those built-in apps is limited, and you won't have much room for editing your video. So we’ll also introduce a more advanced recorder tool for you to video yourself on a Mac.
Record Yourself on a Mac Using Built-in Quick Time Player
Quick Time Player is mainly used as a video player on Mac, but it also can serve as a video recording and editing tool. With Quick Time Player, you can choose to record yourself or others on your Mac screen. Now, let's see how to record yourself on a Mac using Quick Time Player!
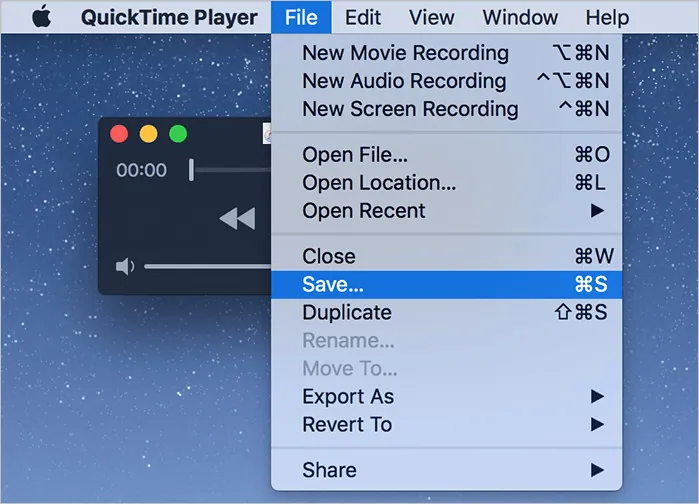
Record Yourself on a Mac Using Quick Time Player
Record Yourself on a Mac with Visual Effects Using Photo Booth
Photo Booth, another excellent built-in app on Mac you can use to record yourself. Although it is usually used to take photos with some special effects, you can also use it to record videos of yourself. And we’ll show you how to do just that below.
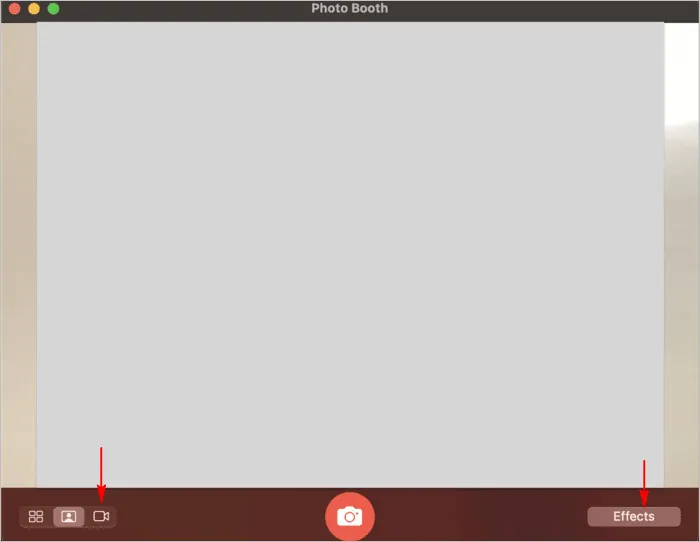
Record Yourself on a Mac with Visual Effects Using Photo Booth
Record Yourself on a Mac and Make Further Edits Using FlexClip
Besides recording yourself on Mac using those two native tools, you can also try a great online tool called FlexClip.
FlexClip offers a free online webcam recorder for you to record yourself on your Mac. Besides, you are also able to capture yourself with audio if needed. What’s more, you can even choose to record yourself and you screen simultaneously. Once done, you can even edit the recording with the built-in tools, like trimming, adding subtitles, annotations, highlights, and overlays to level up your video content.
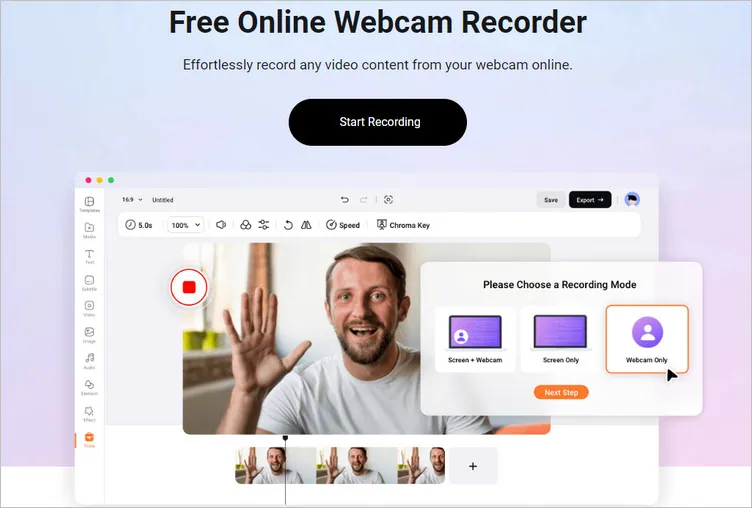
Record Yourself on a Mac and Make Further Edits Using FlexClip
Once you've added the video recording to FlexClip editor, you can try its powerful editing tools to turn the raw footage into a worthy-share project! One other point worth mentioning, FlexClip offers thousands of professionally-designed video templates for you to help you get started easily!


FlexClip Video Editor - The Ultimate Beginner's Guide (Start to Finish)
Pro Tip: Check some designer-made and fully customizable templates for inspiration and level up your video recording.


Final Words
We've shared the different ways to film yourself on a Mac using different webcam recorders. If you're still undecided, we recommend giving FlexClip a try - it's a free and easy-to-use webcam recorder with great features that are perfect for recording lectures, webinars, how-to tutorials, or conferences, etc.


FlexClip Video Maker
The easiest way to help you create custom videos, no design skills needed.
Start Now for Free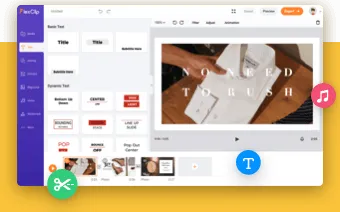
Hot & Trending
-

Ultimate Tik Tok Guide – How to Tik Tok & How to Make a Tik Tok Video that Gets Likes
-

Instagram Story Video Quality Bad After Upload? Fix It!
-

7 Best Ways to Find Music in YouTube Videos
-

How to Repost Video on TikTok & How to Remove TikTok Repost
-

Improve Video Quality Online: 3 AI Video Quality Enhancers You Can't Miss
-

4K Convert to HD 1080p without Watermark: Best 4k Video Converters
-

How to Change Face in Video on Phone/Desktop/Online
-

Top 13 Birthday Video Makers with Music and Effects Free